I didn’t realize that Greek Yogurt was just yogurt with the whey extracted. It sounds so exotic, but it’s a really simple process. It takes no equipment, just some time and the results is wonderful!
Before I start this post, I have to give credit to Paula at Salad-in-a-Jar, I followed her techniques, and she made it so simple.
The first time is the hardest, but it’s really not that difficult, ladies. I went to Amazon to price yogurt, 17.6 ounces of Fage Total Greek Yogurt is $6.99.
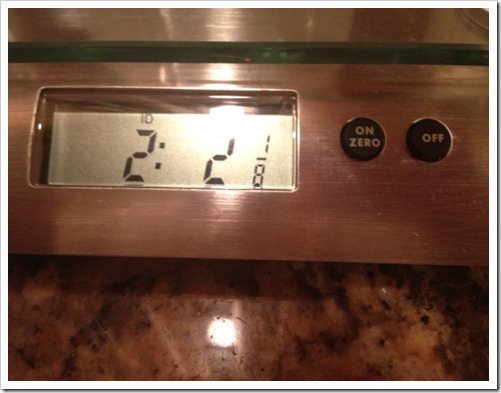
The weight of my yogurt was 18.8 ounces, and it cost me approximately $1.50 – I used a half a gallon of milk, and I paid $2.99 a gallon for the milk at Aldi’s. Now I did have an initial investment of $1.69 for a tiny single-serve container of Fage Unflavored Yogurt, but I’m not counting that, because I will never have to buy this again, as I can save a couple of teaspoons of each batch when I make more.
To make yogurt you need a half a gallon of non-fat milk and 2 teaspoon of live yogurt culture. Buy unflavored non-fat yogurt and look on the side of the container to make sure that it has live yogurt cultures. I bought Fage, I’ve also heard that Dannon non-fat has live yogurt cultures, as well.
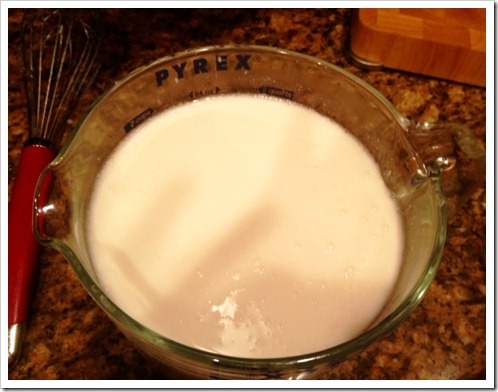
I have an 8 cup measuring bowl, so I poured 8 cups of milk into the bowl and put it in the microwave to heat to a temperature of 175-180 degrees. This is much easier than doing it in a saucepan on the stove because you don’t have to constantly watch it. Paula said that it took 17 minutes in her microwave, in mine it took 18 minutes, 20 seconds to reach a temperature of 175 degrees.
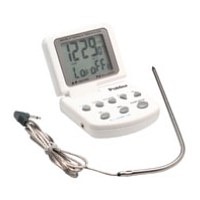 I have a Polder Digital Thermometer which makes it really simple to tell what temperature your milk is, but a candy thermometer would work just as well.
I started putting my thermometer into the microwave and testing at 16 minutes, I repeated this several times as I had never done this before and didn’t want it to get too hot. The next time I do this I will know how long it takes and it will be much easier.
It looked like this when I took it out of the wave.
You need to let this sit and cool to a temperature of between 110-120 degrees, it will take about 30-45 minutes to reach this temperature. I was anxious to get on with the process, patience is not a virtue for me, so as soon as the thermometer registered 120 degrees I was ready to proceed. I whisked in 2 level teaspoons of the Fage Unflavored yogurt and went to the next step.
This is where it got tricky for me, I didn’t know how to keep my yogurt at 100 degrees. I preheated my oven to 170, as low as my temperature allows, for less than a minute, and my temperature had already risen to 110 degrees, so I opened the door until it backed off to 100 degrees. I left on my oven light, sealed my mixing bowl of yogurt with aluminum foil, wrapped it in a towel and put it in the oven to “ferment.” Some ovens can be set to 100 degrees, if you’re one of the lucky ones that has that feature this would be much easier to regulate.
It takes anywhere from 6-12 hours to make yogurt, the longer you leave it, the more sour it gets, and I like it mild so I checked mine after 6 hours, and it wasn’t gelatinous, so I put it back into the oven and pulled it after 8 hours. It still seemed thin, and I was pretty skeptical at this point, but I whisked it, covered it and put it in the refrigerator overnight.
A lot of people ferment their yogurt overnight, but I made mine mid-day, as I didn’t know how to regulate the temperature. I found that my oven stayed at a pretty consistent 105 degrees with the light on, occasionally it would start creeping up to 108 and I would panic and open the door until the temperature backed off to 100 degrees.
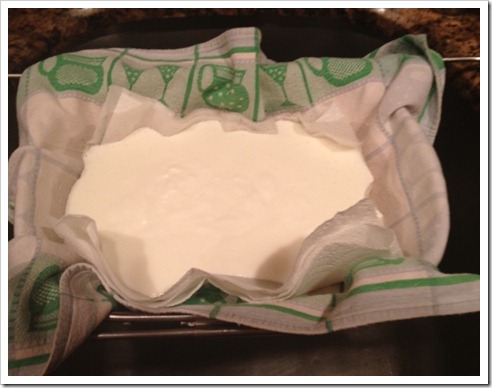
This morning I took the yogurt out of the fridge, it still seemed runny, I didn’t whisk it again, I just poured it into my makeshift strainer. You need a really fine mesh boullon strainer for yogurt, they are pricey $60 on Amazon, but you can pick them up for $30+ on eBay, but I don’t have one so I had to make my own.
I have a strainer that sits over the sink, it’s wide, so I think it takes less time to strain, I lined it with a tea towel, and then put several folded layers of paper towel on top of the towel, as I didn’t want to yogurt to touch the tea towel and let it strain.
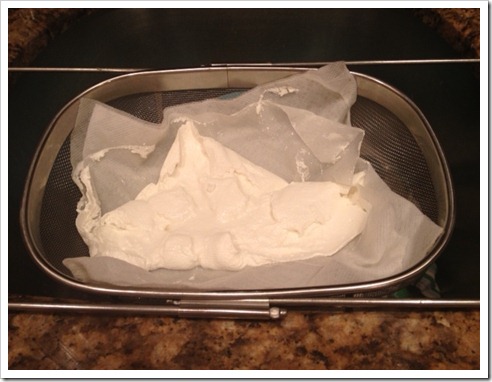
I quickly realized that I didn’t actually need the towel, I used an old one, it looked icky, so I just removed it and it worked fine to let the yogurt drain on the layers of paper towel. You can also use cheesecloth for this, but then you have to wash it, paper towel is easier, you just toss it.
You can see that the yogurt has gotten really thick, look at the difference between picture 1 and picture 2, I let it drain for almost 3 hours.
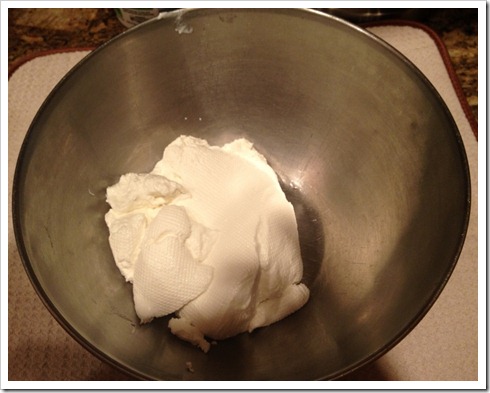
Then I put it in mother’s old stainless steel bowl, my very favorite thing in the kitchen, but you’ve all heard before about how much I love this old bowl, and you can see how thick this is. You could slice it with a knife, it’s so thick.
Then I whisked it, and it turned into this fluffy, wonderful yogurt. Some people add a bit of skim milk at this point to make it even creamier, but I want it really thick, so I didn’t add milk back in.
I’m going to have a scoop of this on a baked potato tonight with some fresh chives from my garden. Oh so good!
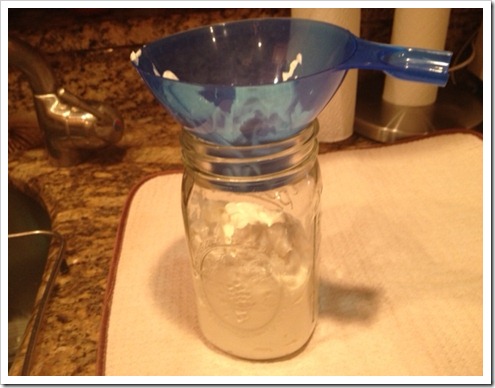
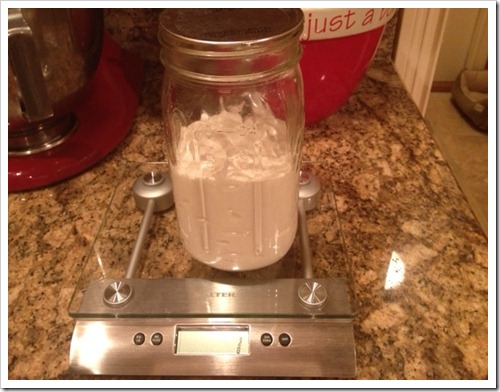
I put it in my Ball jar and the finished product yielded a little over two cups. I’m amazed by the fact that it reduces so much, but you’re taking out all of the liquid (whey) which some people use for different things, they use it instead of water for cookies veggies, for homemade bread, some people even water houseplants with it.
And here’s the weight, you’re probably thinking “this is a lot of work,” but it seriously isn’t, once you figure out how to do this, it’s going to be really simple.
If you’re interested in this, Paula has a video, explaining it all. You can access it here.
Note: Some recipes called for powdered milk to give added protein and make it richer. I was going to put it in, but I noticed a notation on salad-in-a-jar website that said she no longer does this, as she likes the texture better without it, so I left it out.
It’s healthy, it’s good for your gut, it’s cheap, it’s totally natural, it’s Yogurt!!!!!!!






Add your comment